Getting started
Install the Leat WooCommerce plugin, connect your account, and set up your loyalty program.
This guide walks you through installing the plugin, connecting it to your Leat account, configuring earn rules and rewards, and publishing a loyalty dashboard page in WordPress.
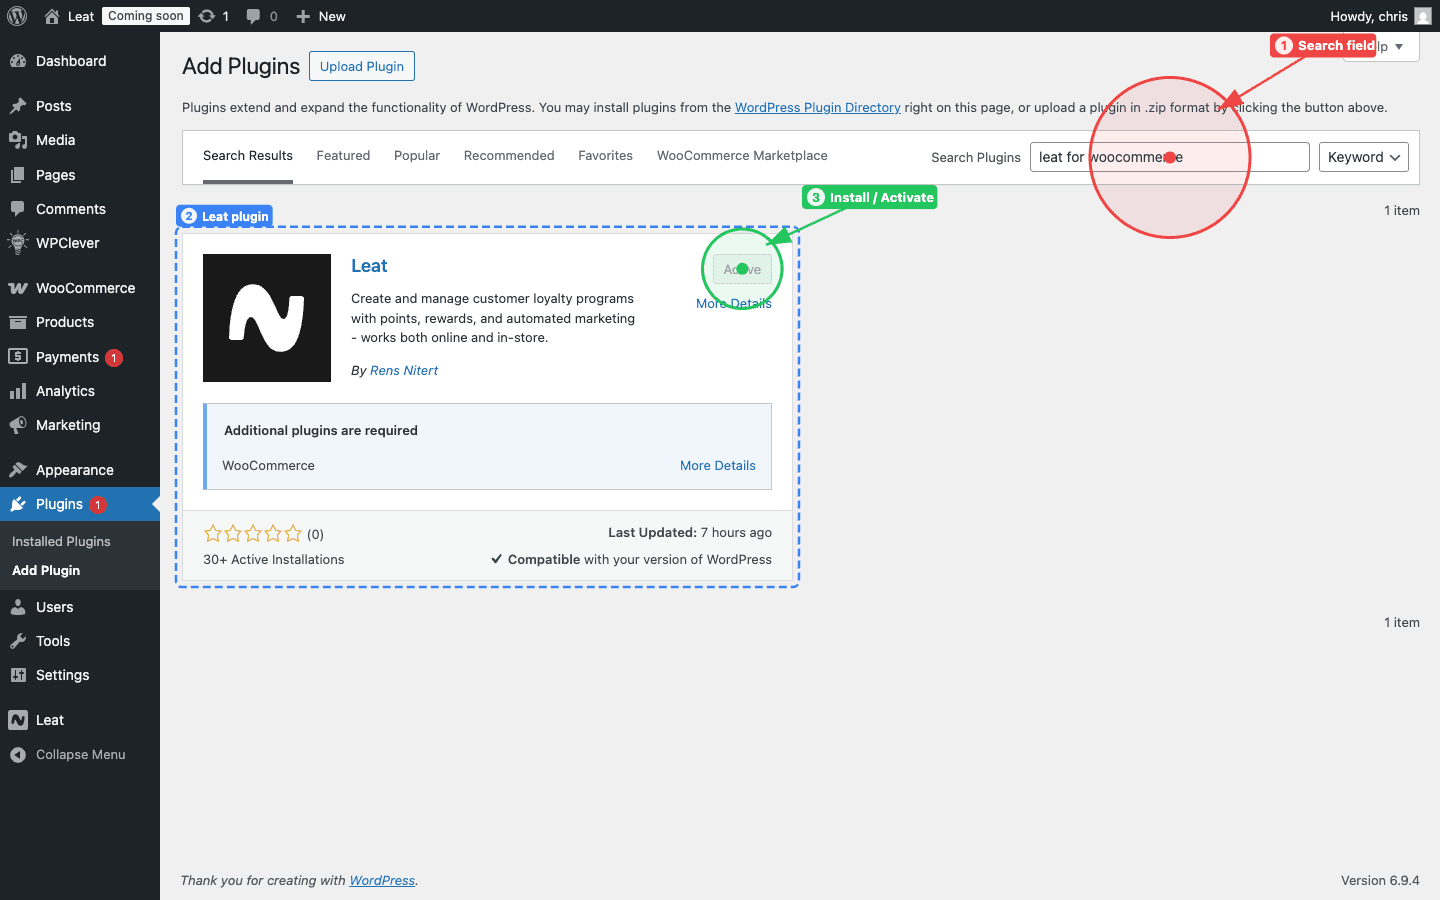
1. Install and activate the plugin
- In your WordPress admin, go to Plugins > Add New
- Search for Leat
- Click Install Now, then Activate
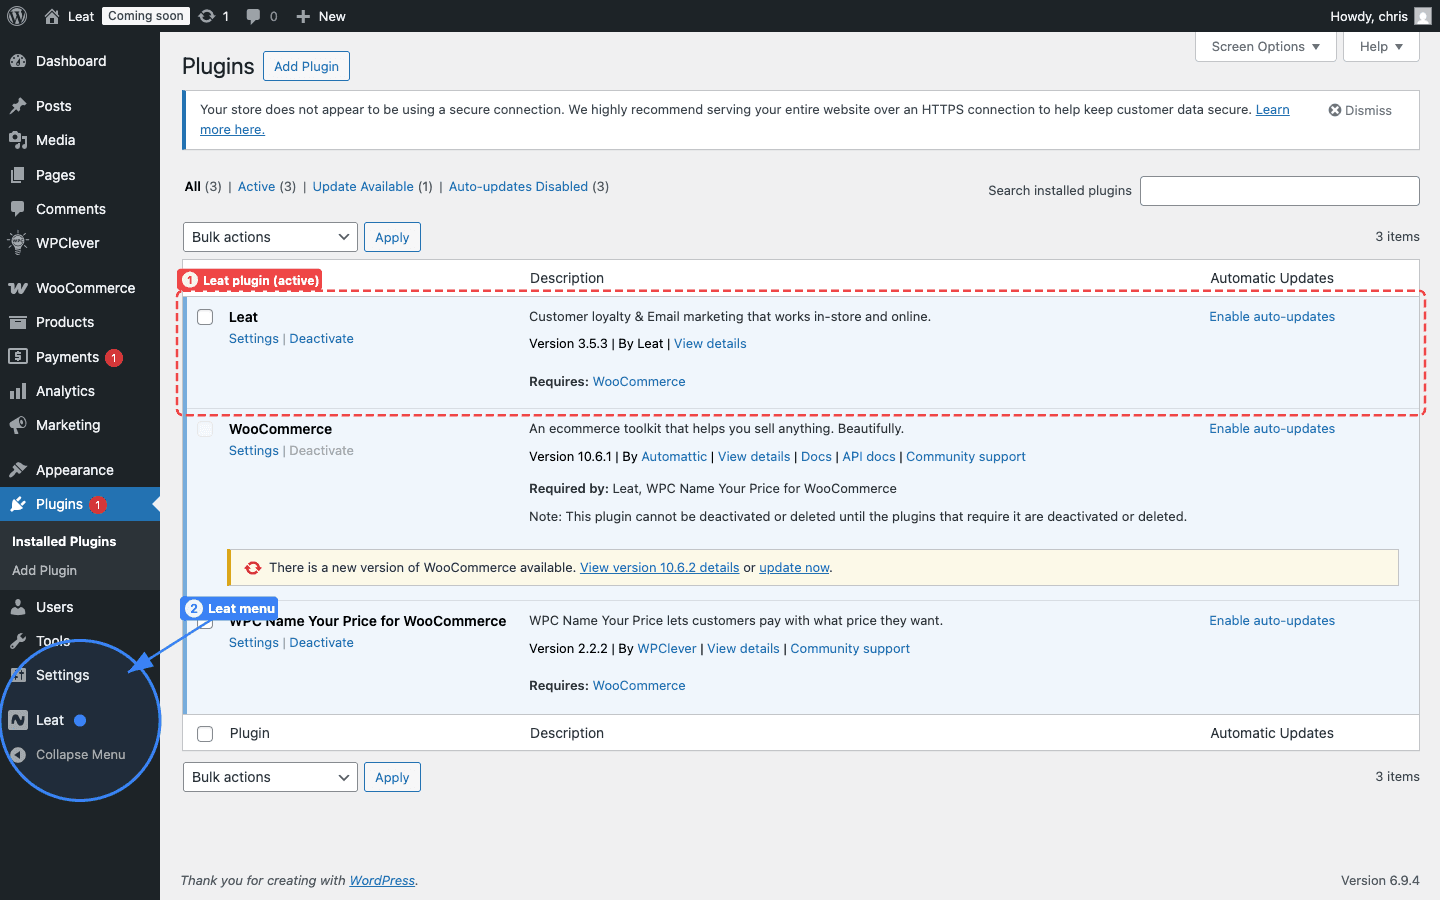
After activation, the plugin appears in the Plugins list (1) and a new Leat menu item (2) is added to the WordPress admin sidebar.
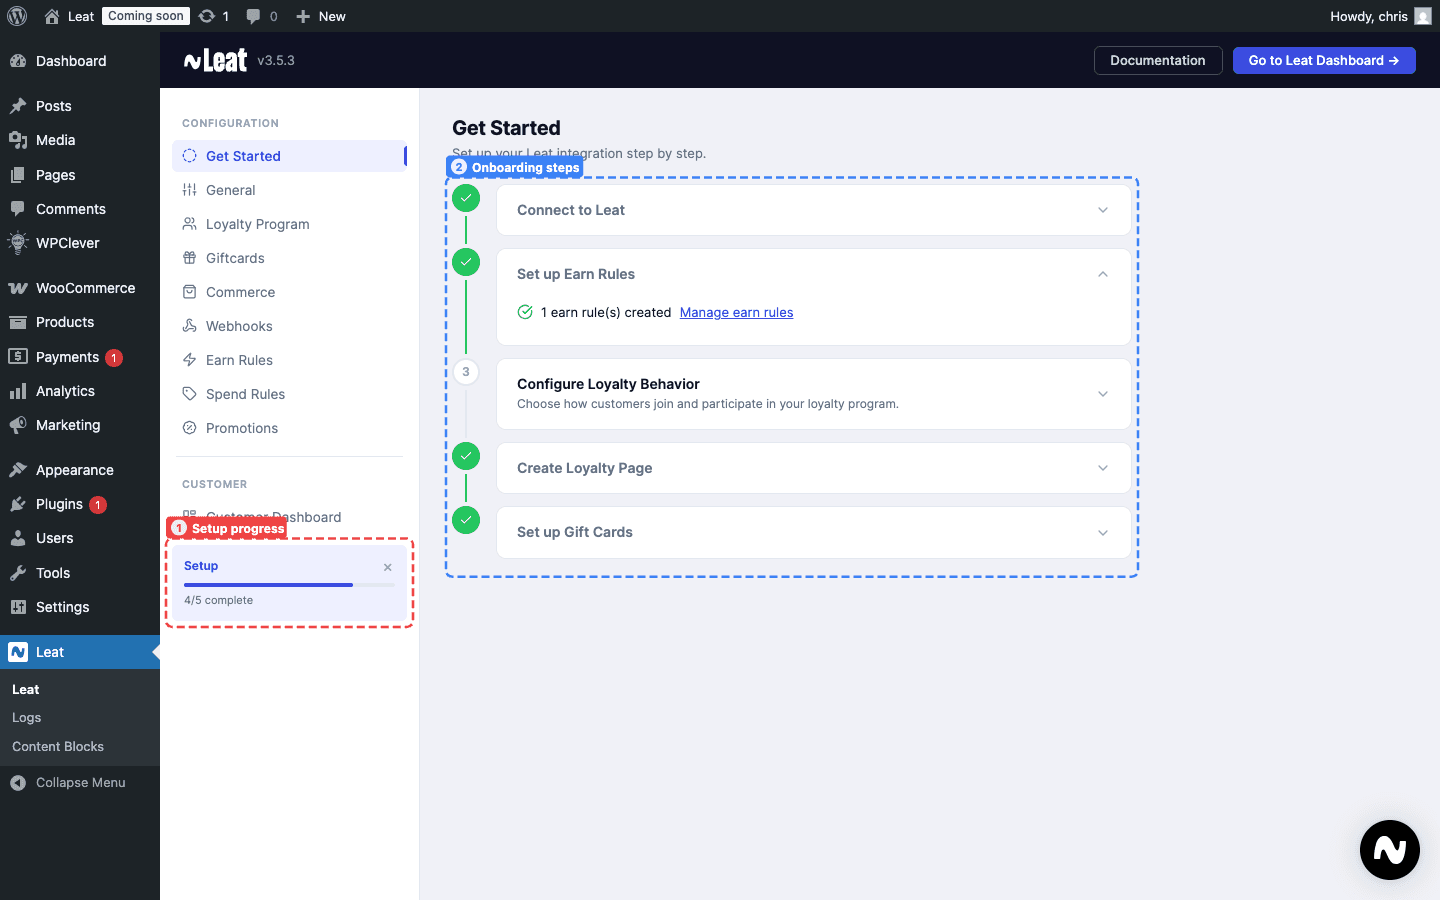
2. Connect your Leat account
After activating the plugin, go to Leat in the admin sidebar. The plugin opens its Get Started wizard which walks you through each step.
The plugin authenticates with your Leat account using a Personal Access Token (PAT). To create one:
- Go to business.leat.com/apps/integrations/personal-access-tokens
- Click Create token and copy the generated value
Then open Leat > General in the WordPress admin sidebar and paste the token into the API Key field. Click Save settings.
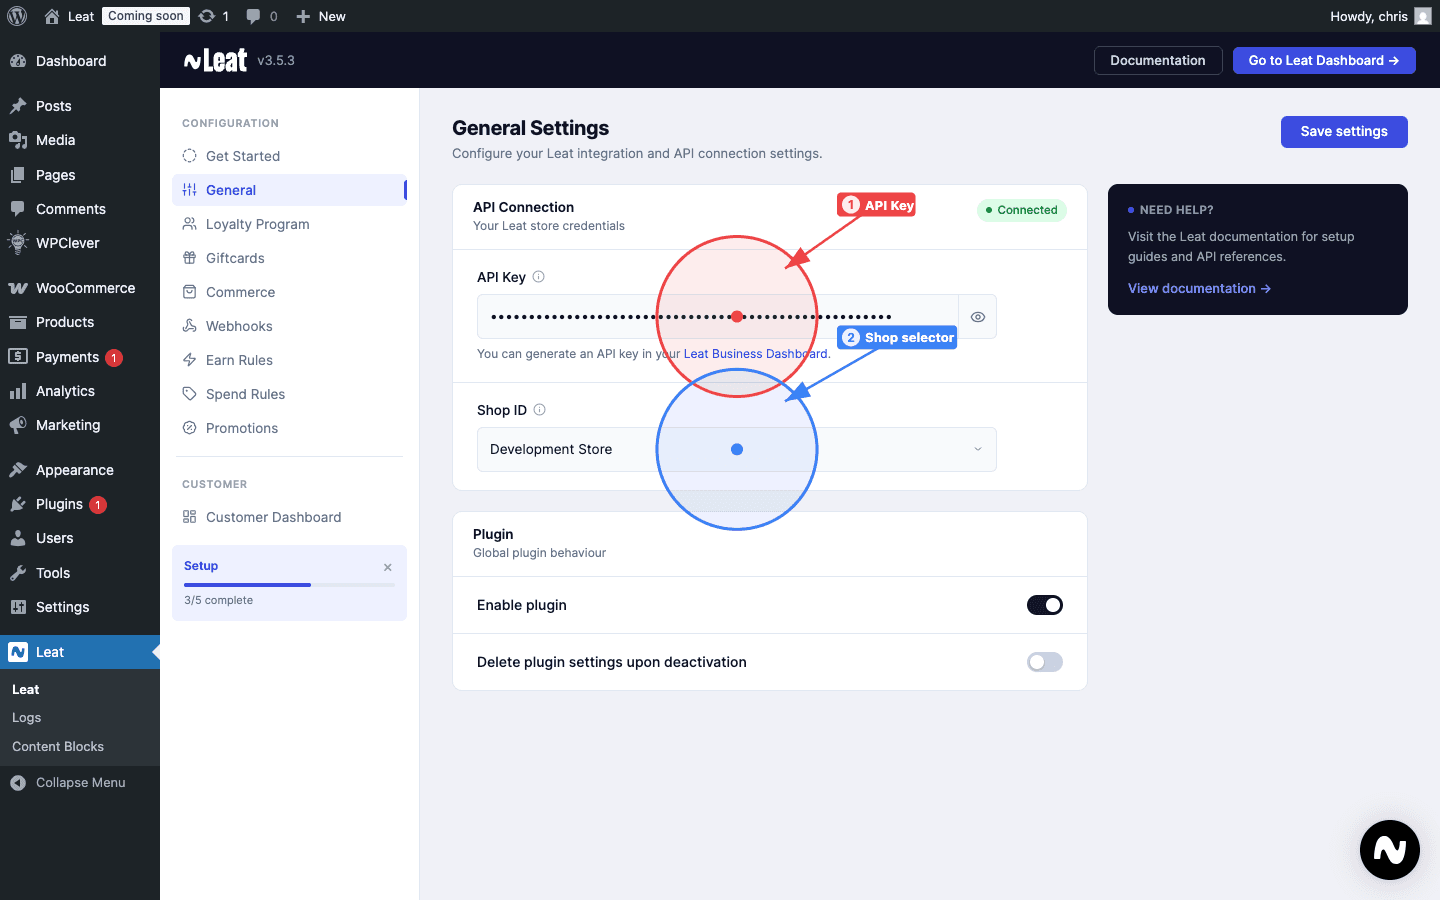
3. Select your shop
After saving your API key, the API Connection indicator turns green and the Shop ID dropdown populates with the shops linked to your Leat account. Select the shop you want to connect to this WordPress installation.
If you have multiple locations, each one is listed here. You can read more about adding branches and shops to your account in the Leat support docs.
Save your settings. The plugin is now connected.
4. Configure earn rules
Go to Leat > Earn Rules in the plugin sidebar. Earn rules control how customers collect credits, for example following on Instagram.
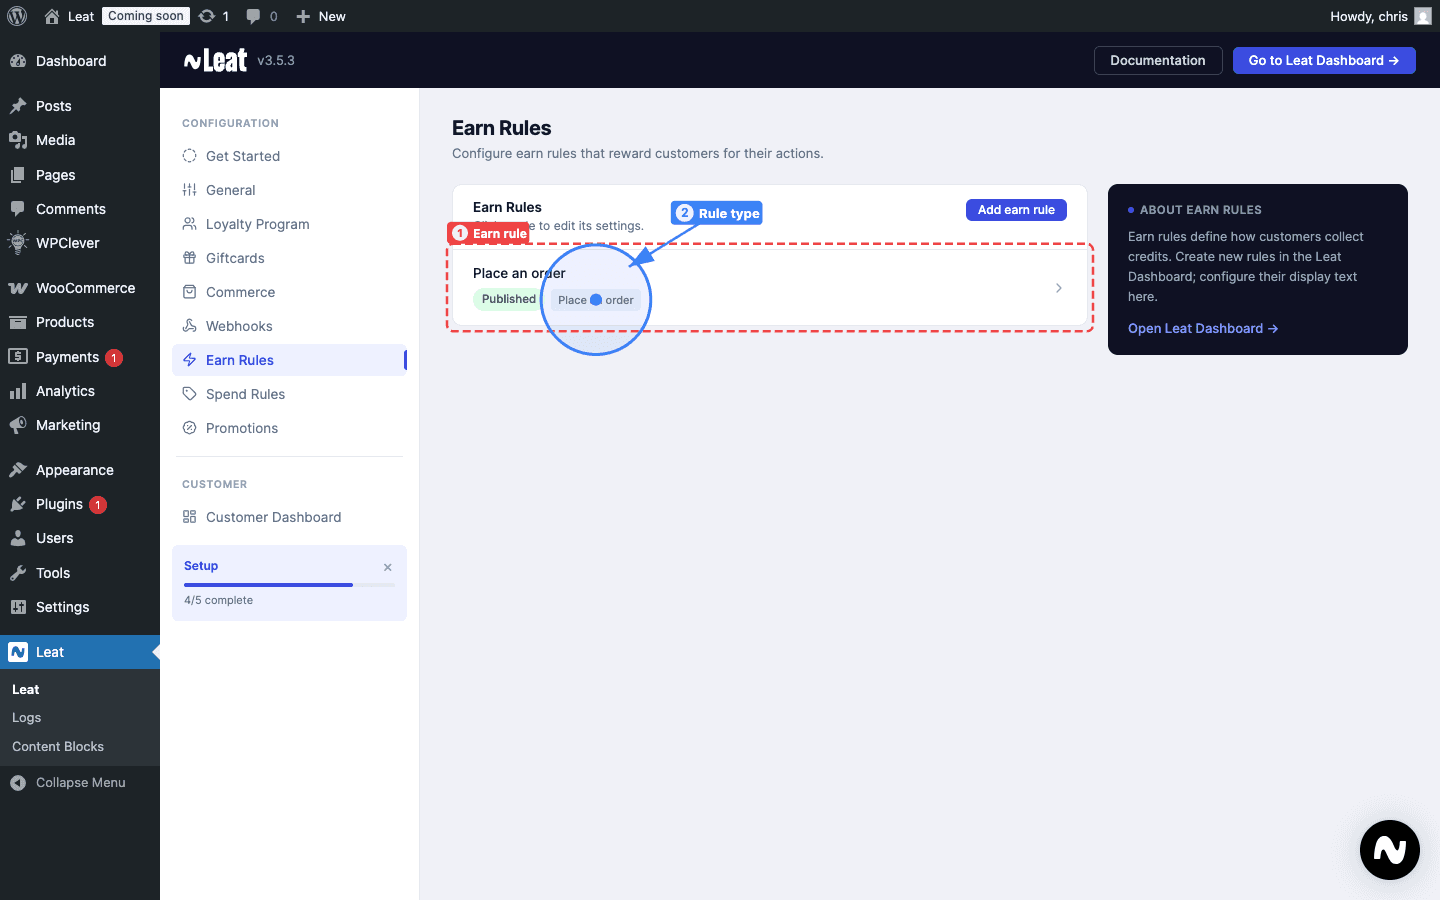
For a full walkthrough on configuring earn rules, see Earn rules.
5. Sync your rewards
Go to Leat > Spend Rules in the plugin sidebar. Spend rules are your rewards, they define what customers can redeem their credits for.
Rewards are pulled from business.leat.com/loyalty/rewards in the Leat dashboard. Click Import now in the sidebar to sync them into the plugin.
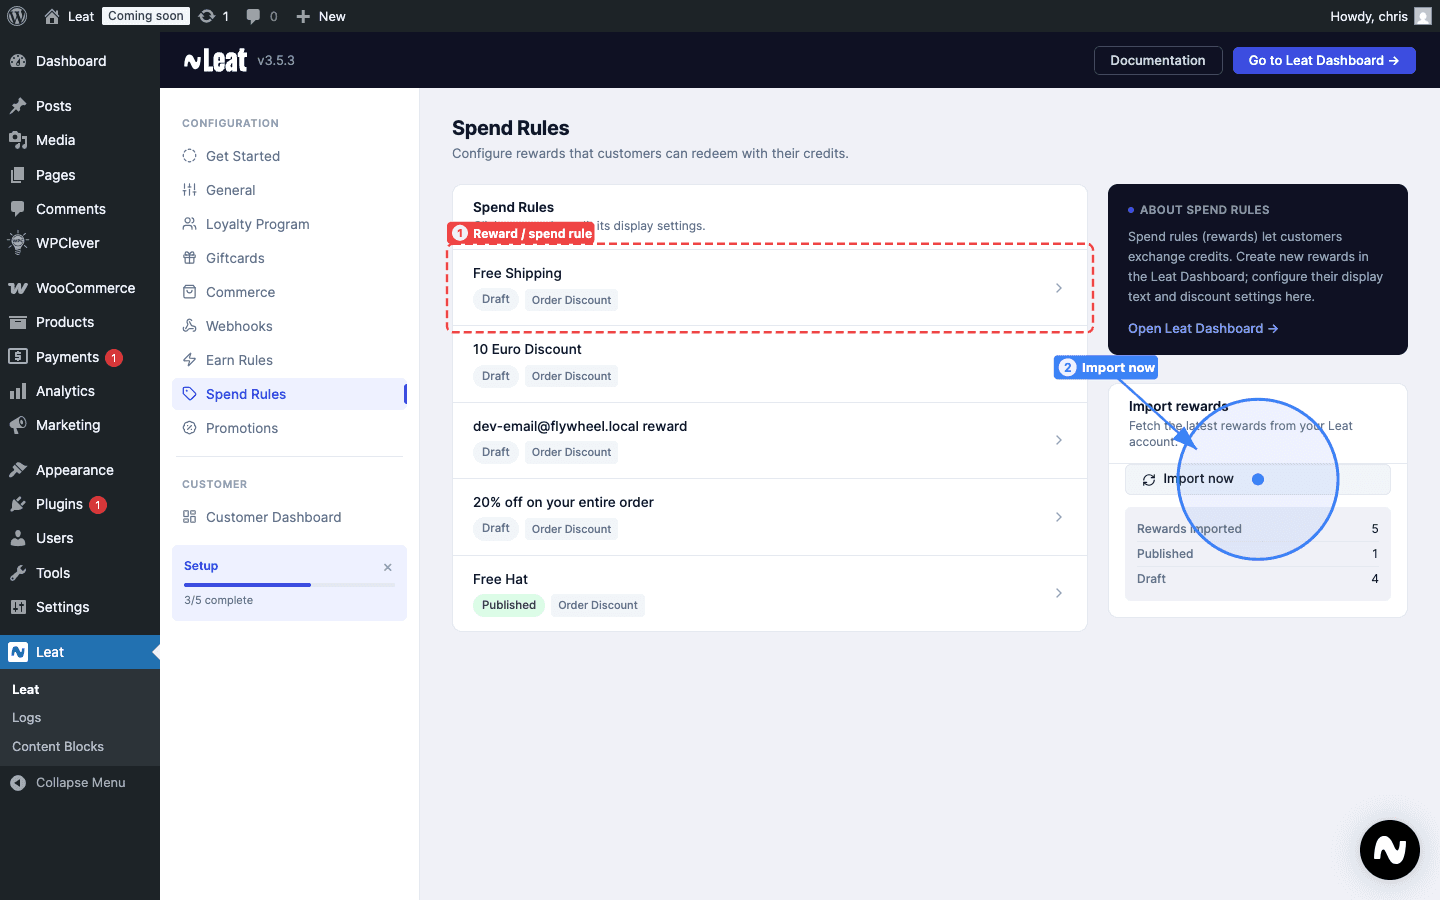
A few things to keep in mind after syncing:
- All rewards are inactive by default. You need to activate and configure each one individually before customers can use them.
- New rewards added in the Leat dashboard will not appear in WordPress until you import again.
For a full walkthrough on configuring individual rewards, see Rewards.
6. Create your loyalty page
With earn rules and rewards configured, the last step is building a page where customers can see their balance, browse rewards, and manage their account.
- Go to Pages > Add New in WordPress.
- Open the block inserter by clicking the + button in the top-left corner of the editor.
- Switch to the Patterns tab and look for the Leat category.
- Insert the pattern that fits your needs. The Complete Loyalty Dashboard pattern includes every section on one page and is a good starting point.
Customize the layout to match your store, then publish the page.
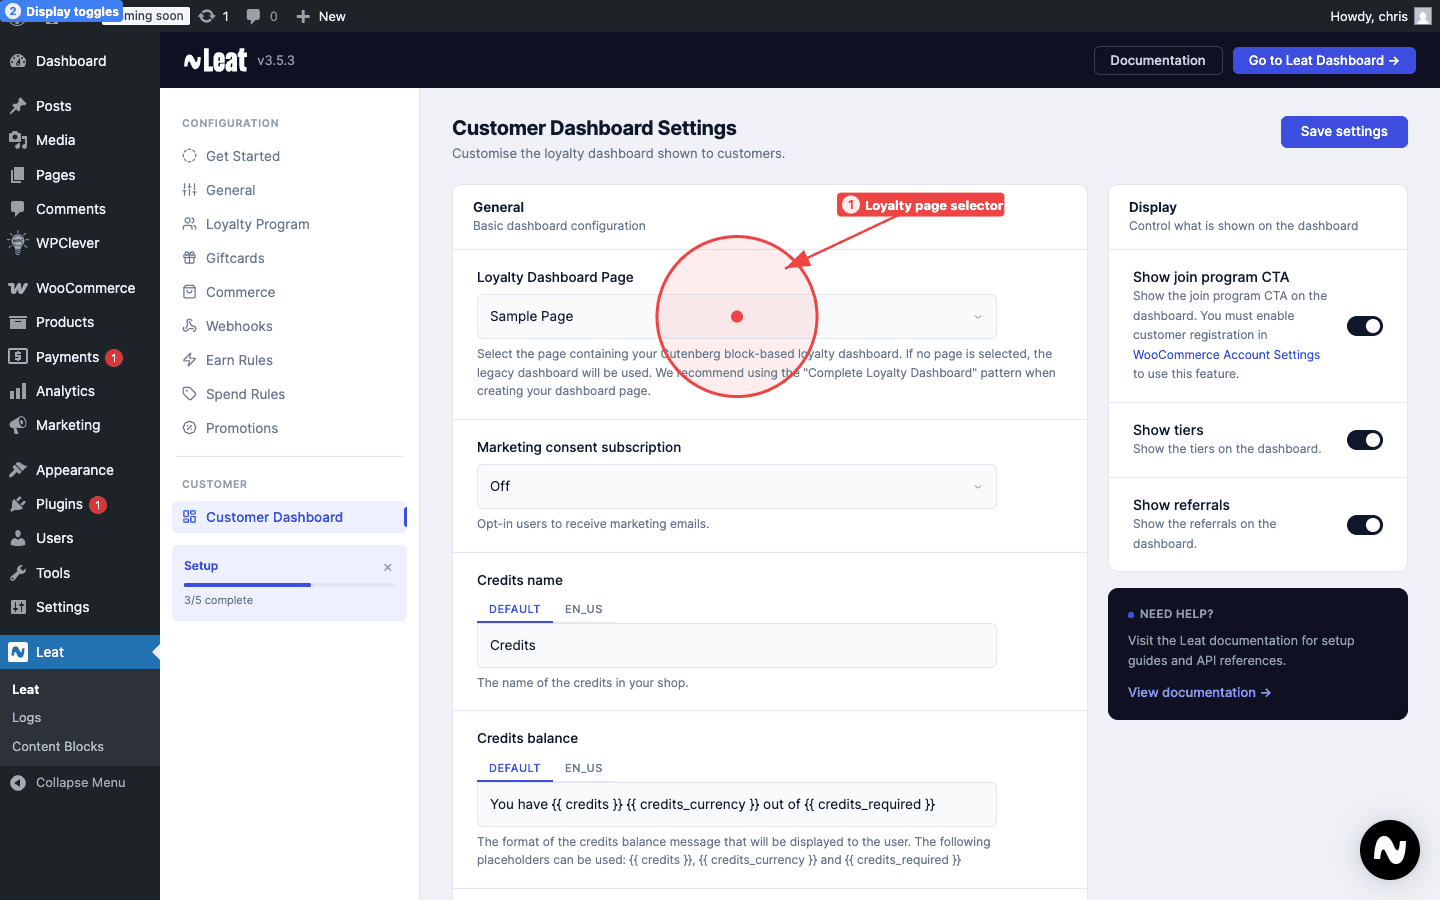
Once the page is published, go to Leat > Customer Dashboard in the plugin sidebar and select the page you just created. This links it to the loyalty tab in the WooCommerce My Account section so customers can find it.
For a full guide on all available blocks and patterns, see Dashboard.
You're set up
At this point your loyalty program is live. Customers can earn credits on orders, redeem rewards at checkout, and view their account on the page you just published.
From here you can dig into more advanced configuration under the other pages in the Leat admin menu:
- Products: show how many credits a product earns on the product page
- Gift cards: sell and accept gift cards through WooCommerce
- Vouchers: sync voucher codes from Leat as WooCommerce coupons
- Selling vouchers: sell voucher products that issue a code on purchase
- Tiers: display your loyalty tier structure
- Referrals: give customers a referral link
- Promotions: run promotional campaigns
- Checkout: points display, reward redemption, and gift cards at checkout
- Content Blocks: turn Leat blocks into shortcodes for page builders, classic editors, and theme hooks
- Settings: full reference for all plugin settings